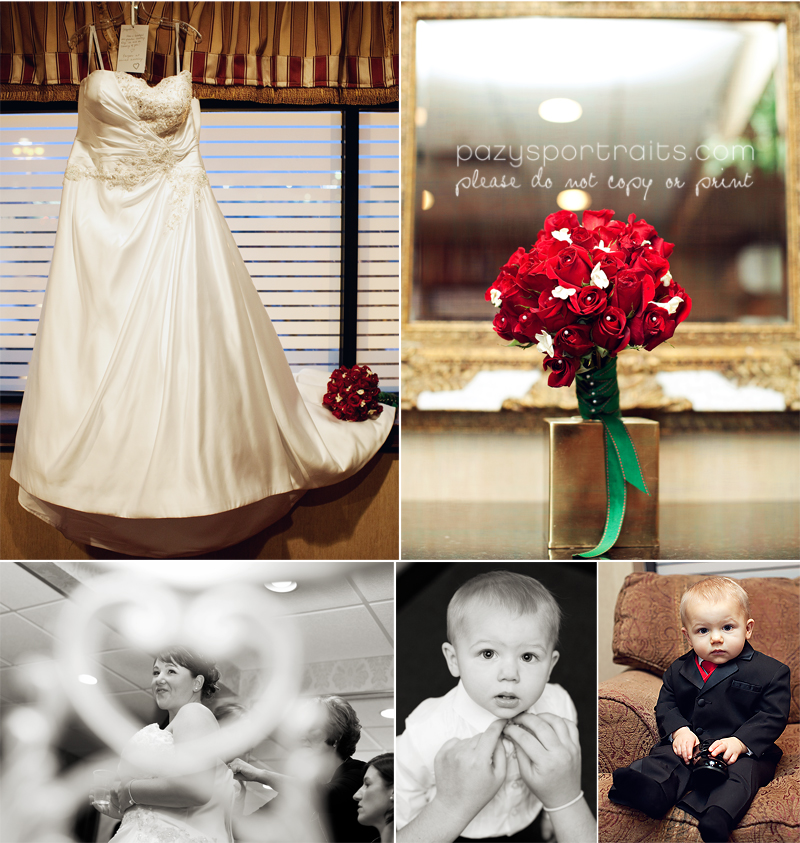
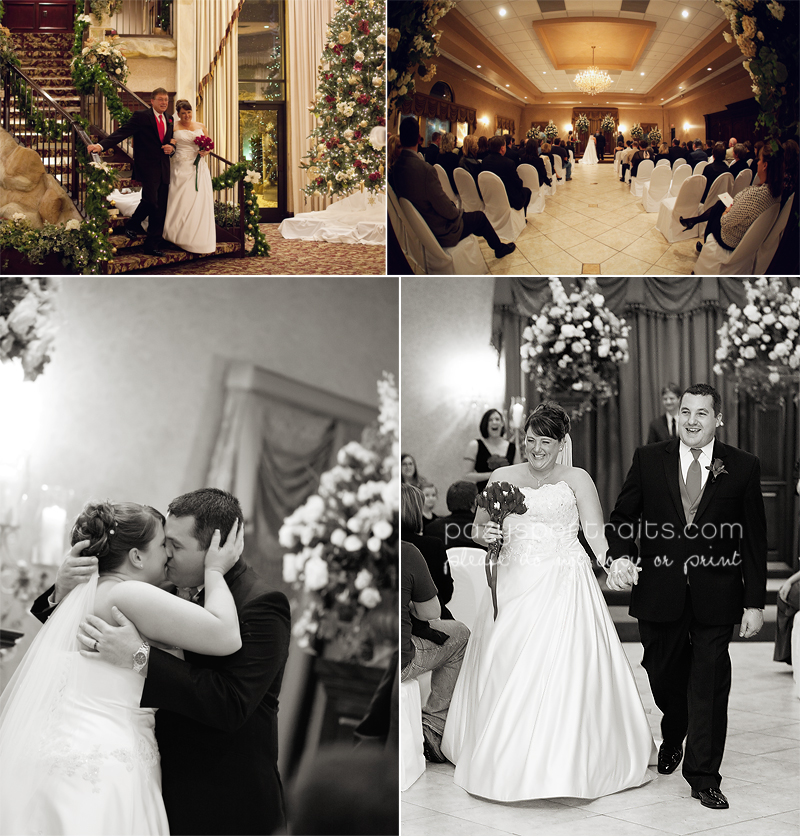
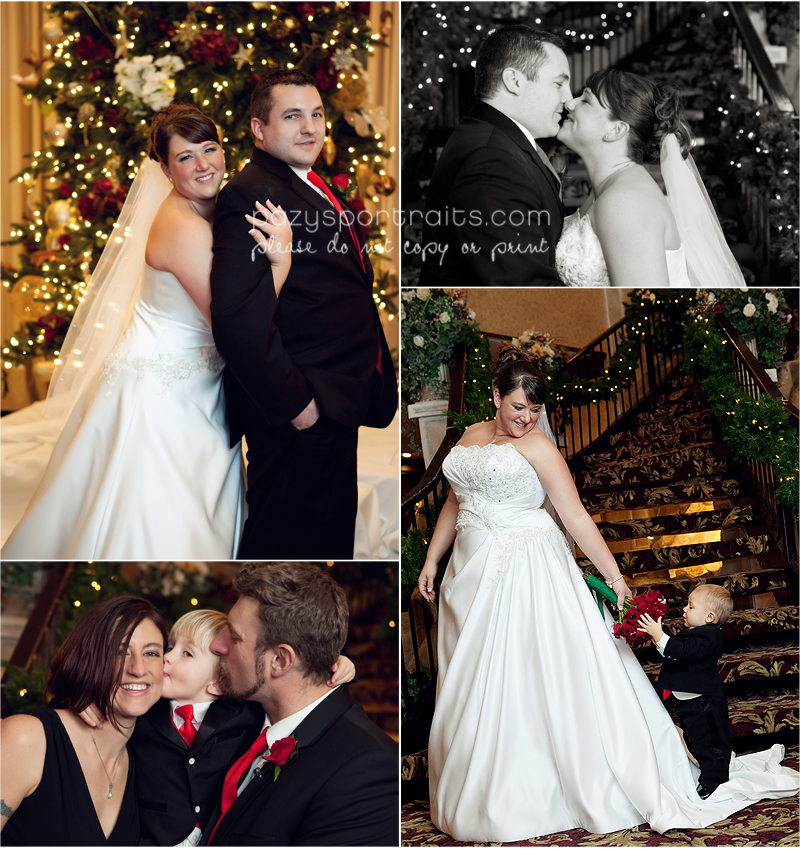
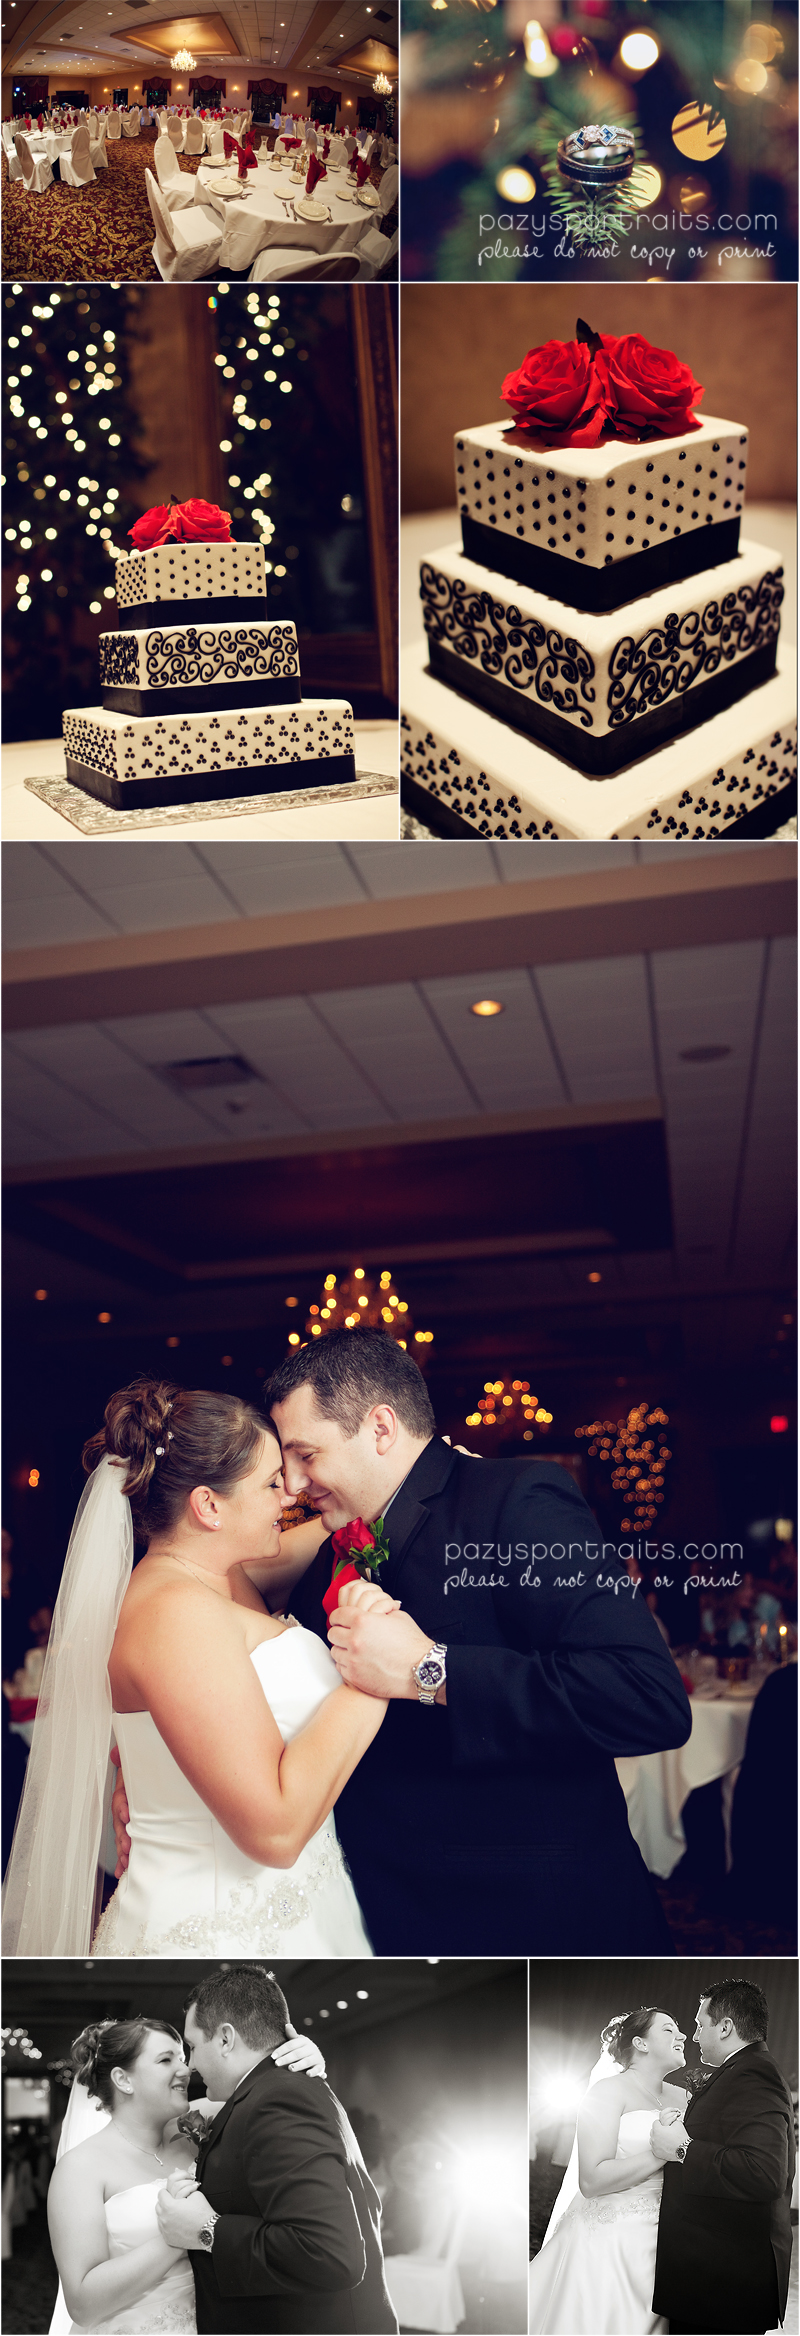
jacqueline and michael had a beautiful wedding just two days after christmas! i loved incorporating all the christmas decor into their pictures!
i often get emails from photographers/moms-with-a-camera, and my editing seems to be one of the most popular subjects of those emails. i’m definitely not a photoshop whiz and don’t think i’ll ever claim to be one. i’m pretty self-taught and have learned most of my editing process through trial and error and the internet. one book that definitely helped me in the beginning is The Adobe Photoshop Book for Digital Photographers by Scott Kelby.
i decided it would be more beneficial to show how i edit using pictures rather than trying to explain it through an email.
here is a sooc image of brooke, one of my lovely seniors:
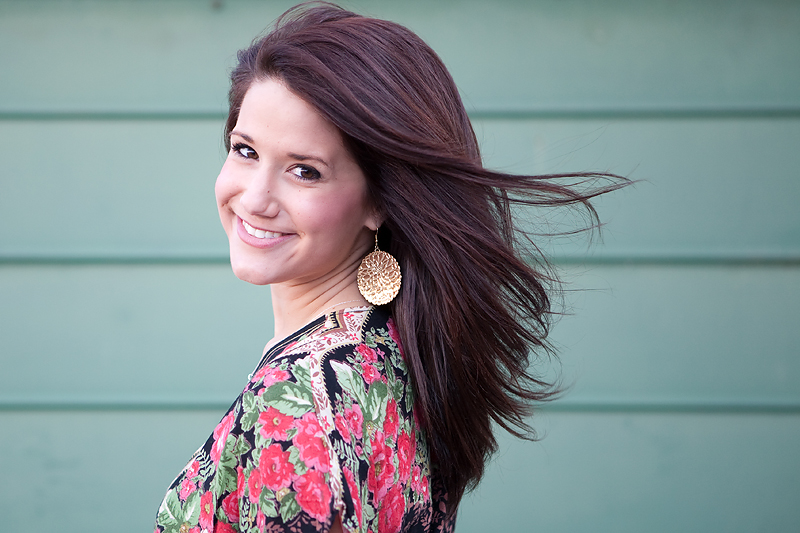 i shoot in raw and only do a custom white balance (i’ll explain more about that in a later post) when i’m shooting newborns, immobile babies, or with studio lighting. when i’m constantly changing locations or chasing after a toddler, i find it easier to just leave my white balance on auto and adjust in bridge/photoshop. that answers another frequently asked question i get; i do all of my editing in adobe bridge and photoshop.
these were my settings in bridge for this image:
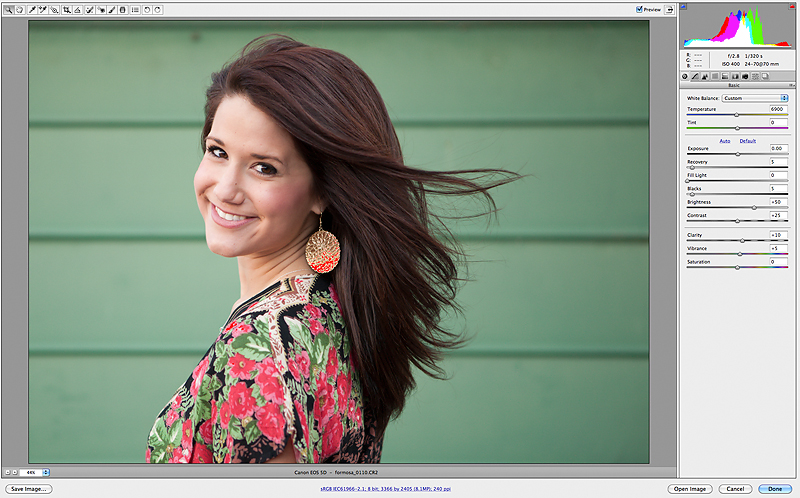 i warmed up the image quite a bit. i usually find that my canon 5d markii shoots pretty cool. other than the temperature/tint, my other settings are pretty standard. i did a recovery of 5 because you can see that a tiny bit of her earring is blown (red above). i also crop all my images to a 5×7 because i just like the way this crop looks better than a 4×6.
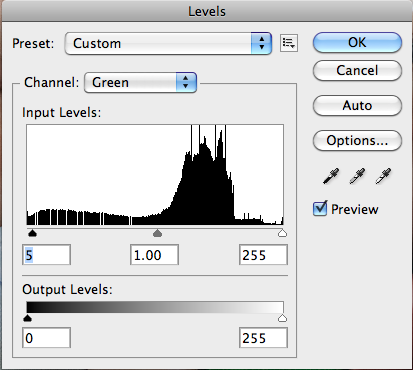
next i opened the image up in photoshop. i started with going into levels and moving the black slider over to 5. i make sure i’m not losing too much detail in the shadows when i do this.
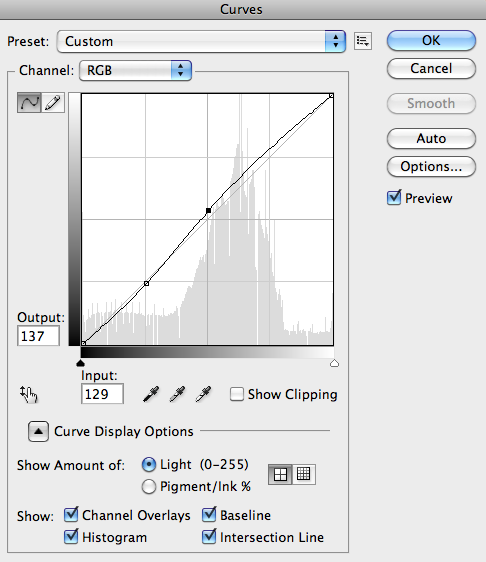
i then went into curves and pulled up the mid-tones a bit and pulled down the shadows a tiny bit. you want to be really careful because even a tiny adjustment can cause you to blow-out (overexpose) parts of your image or lose too much detail in the shadows.
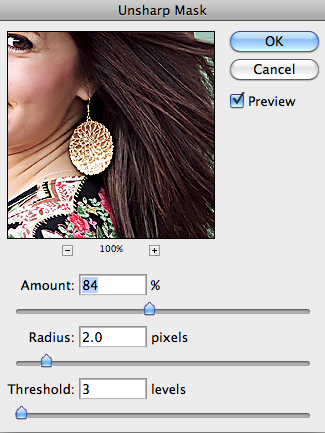
 then i made a new “soft light” layer and reduced the opacity to 18%. i ran my self-made portraiture (a skin-softening plug-in by imagenomic) action on it’s own layer and then reduced the opacity to 30%. brooke has awesome skin and i didn’t want to make it too smooth. i erased the portraiture from her eyes, nose, lips, hair and clothing. i also used the patch tool to fix the blemishes in the building and then just slightly reduced the wrinkles under her eyes. i did this by making a new layer, outlining the under-eye circles with the patch tool and then dragging them to her cheek. i then reduced that layer to 50% so she still looks natural. finally i run an “unsharp mask” on it’s own layer, using the settings below:
 my last step was putting a vignette on the image.
so here’s the before again:
 and here’s my final image:
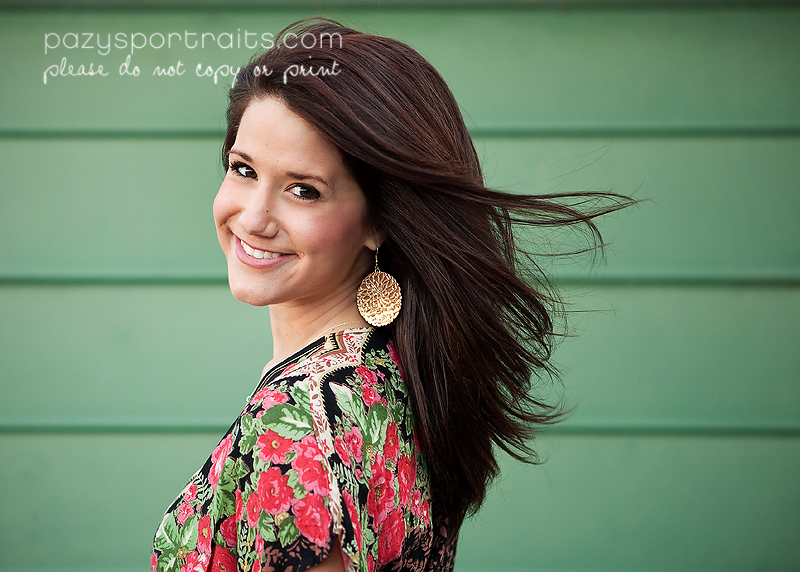 the only action i used here was my own that i made for portraiture. i’m not saying i don’t use them, but i definitely don’t feel like i HAVE to use them. a few of my favorites are from lilyblue and totally rad, but even when i use them, i make sure they are on their own layer and then i reduce the opacity way down.
as you can tell, editing can make a pretty big difference. however, it definitely helps to start with a properly exposed, thought-out image. the more you get right from the beginning, the less “turd-polishing” you have to do! 😉 too much editing can also be a very bad thing! i hope this post was helpful and if you’re still here, thanks for stopping by. i plan on doing more of these before-and-after tutorials and if there is enough interest i may do a frequently asked questions post. feel free to send all questions/requests to sarah@pazysportraits.com. thanks again!
Love this so much! What a gorgeous photo – and I love seeing the behind-the-scenes! Thanks!!
Beautiful work Sarah! LOVE the edit – thanks for the steps – of course… having YOUR incredible technical skill and artistic talent helps make this image shine in addition to the photoshop magic!
Beautifully done!
Great shot- I love how you show how you polished a technically awesome, well composed shot!
Great job! A great picture to start with and you made it so much better!
Thanks for sharing your steps. You started with a gorgeous picture and really made it pop. Love it!
I love your processing! Thank you for sharing your steps! She is gorgeous and the image is wonderful!
stunning!
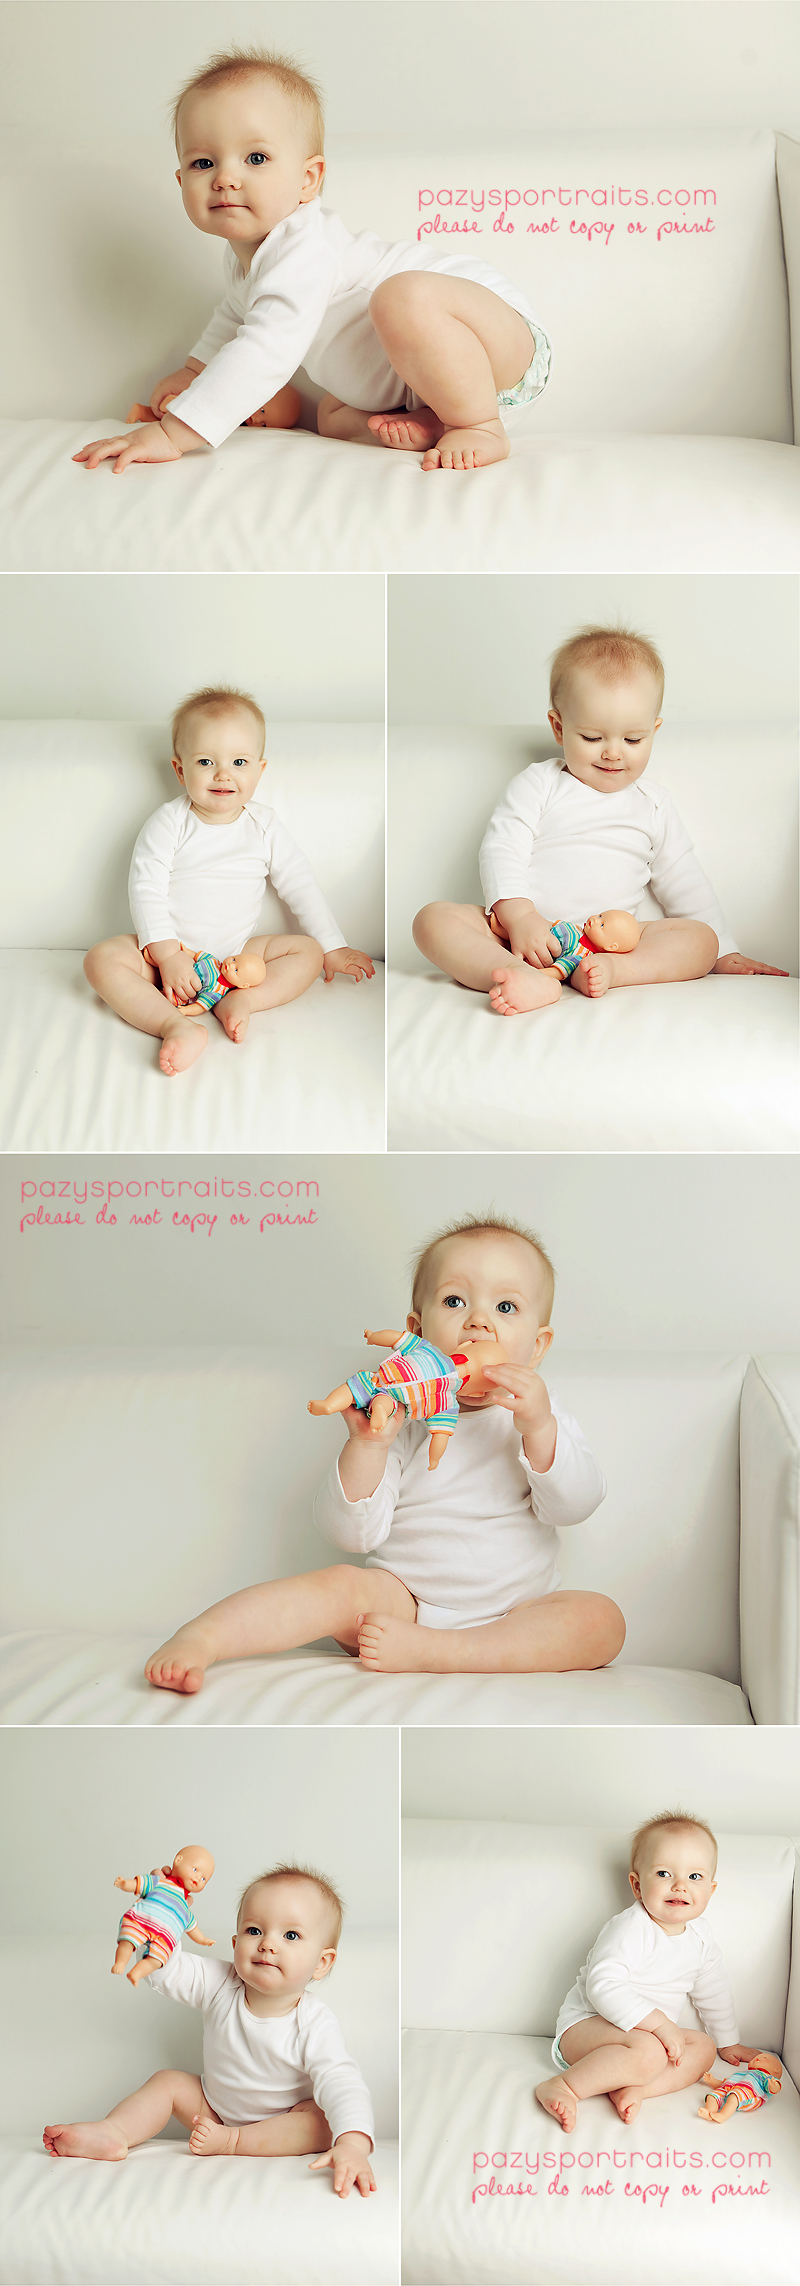
i’ve never been one to like a ton of props in my pictures. a few here and there and that’s plenty for me. i always feel the picture should focus more on the person/people in it then the objects around them. this sweet one-year-old is a prime example. she has a white onesie and her baby doll and that’s all she needs. i love how the simpleness draws attention to her fuzzy hair, sweet baby rolls, and cute little toes!
i had this post all planned out last week. it was suppose to go up on the first day of the year, but then more important things took place. things like reading lots and lots of books to my kids, playing, cuddling, and spending time with family and friends!
the vacation is now over and i want to kick the year off right. when i think of new beginnings i can’t help but think of new babies. so, i decided to share all my 2011 newborns with you!
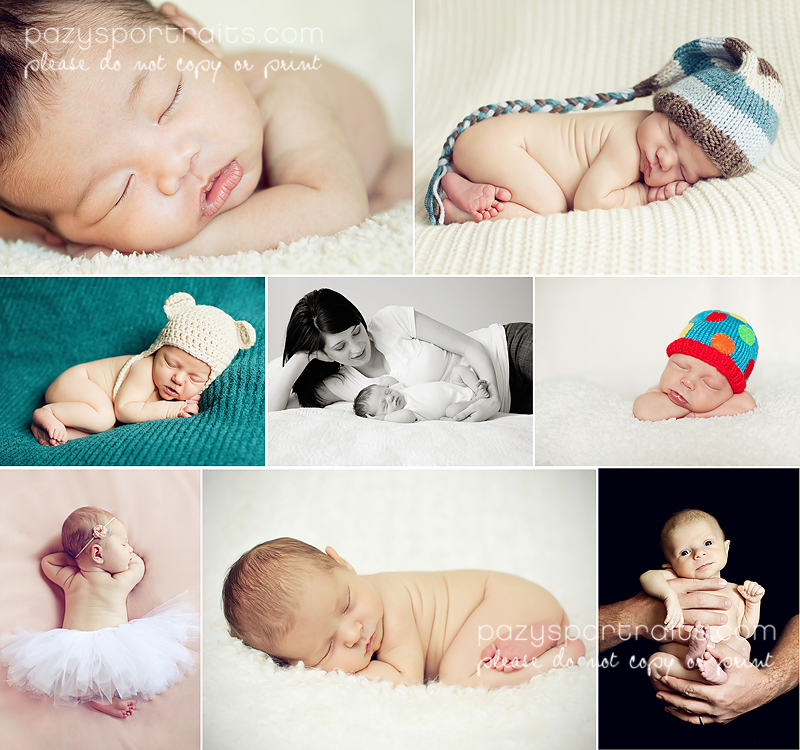
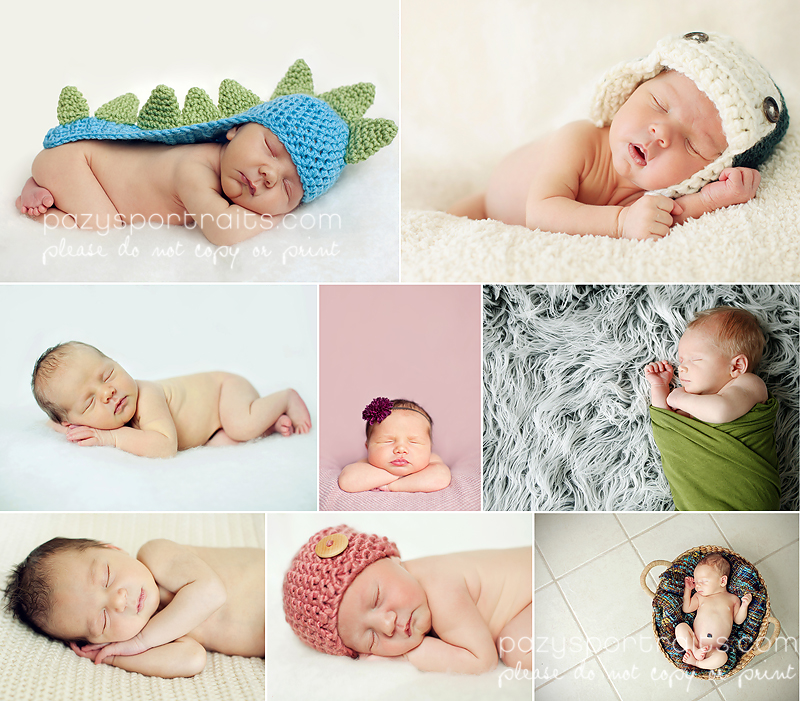

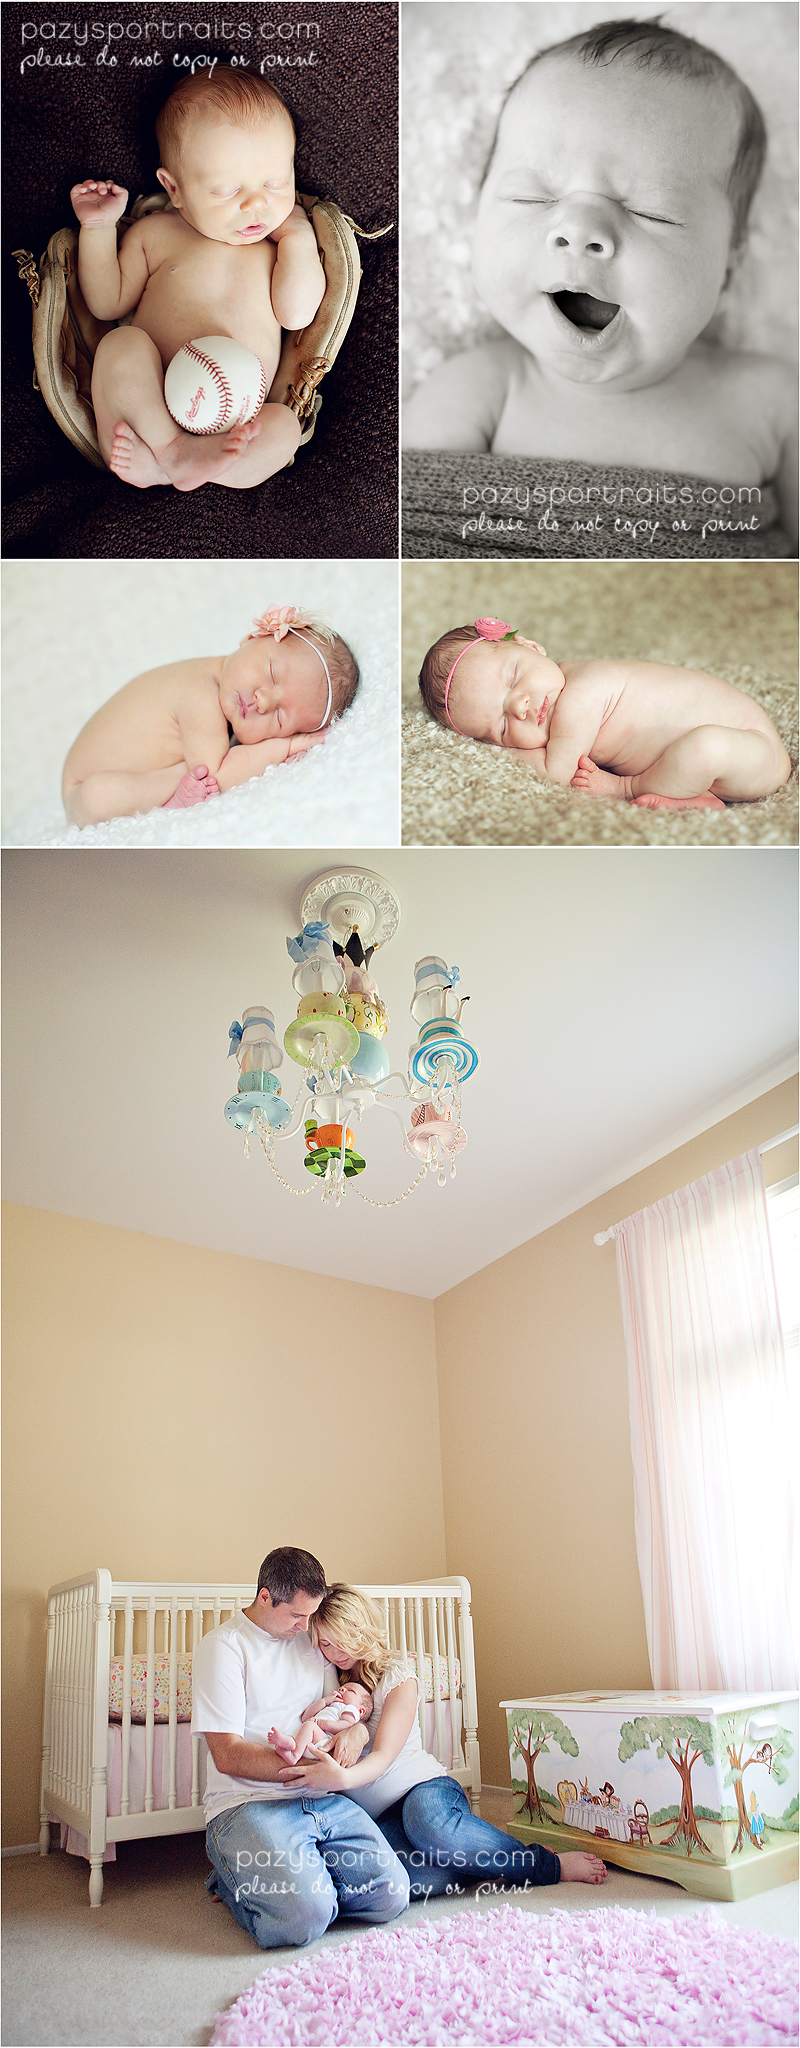 i really LOVE my job. i can’t wait to meet my first newborn of 2012 on wednesday!
Ryann - These are beautiful. You really captured the love between them.
Becky - Gorgeous!! That cake is beautiful. What an awesome Christmas wedding!